Are you looking for ways to increase WooCommerce sales?
A successful online store needs to continuously find ways to increase WooCommerce sales. However, sometimes, it may not look as easy as you would like it to be.
In this article, we’ll share tested and actionable tips on ways to quickly increase WooCommerce sales with little effort and no special skills.
Why Optimize WooCommerce to Increase Sales?
According to Forbes, e-commerce sales grew by 10.8% in 2023. In the US alone, eCommerce sales are expected to cross over $1.1 Trillion in 2023.
As more and more transactions are moving online, there is a ton of room for your eCommerce business to grow and capture your share of the pie.
WooCommerce is the most popular eCommerce platform in the world. It is super easy to use and incredibly flexible to build any kind of online store.
Out of the box, WooCommerce gives you plenty of tools to increase sales. However, there is so much more you can do.
- Make a faster online store
- Improve your store’s shopping experience.
- Optimize your sales funnels
- Create a frictionless checkout experience for your customers.
Not optimizing your WooCommerce store to increase sales is like leaving money on the table.
Many of these tips don’t require technical or coding knowledge and can be easily implemented in your WooCommerce store.
That being said, let’s look at some of the most actionable and practical tips to increase WooCommerce sales.
- Get Better WooCommerce Hosting
- Improve WooCommerce Performance
- Set up WooCommerce SEO
- Use Proper Schema Markup for Products
- Perform Proper Keyword Research for Product Pages
- Optimize Product Category Pages
- Ranking for Local Search Results
- Reduce Cart Abandonment with OptinMonster
- Create Better Cart Pages for WooCommerce
- Upsell on Cart, Checkout, and Thank You Pages
- Set up Email Marketing in WooCommerce
- Boost Conversions with Push Notifications
- Use Social Persuasion to Increase Sales
1. Get Better WooCommerce Hosting
First, you need to make sure that your online store is running on the best WooCommerce hosting platform available.
An unreliable hosting platform can affect your store’s performance, slow it down, or cause frequent downtimes. This affects your store’s user experience, SEO, and sales.
Switching to a better WooCommerce hosting plan gives your store stability and a performance boost, which ultimately leads to better user experience and higher conversions.
If you are just starting out, then we recommend using Bluehost. They are one of the officially recommended WooCommerce hosting providers.

They are offering WPBeginner users a generous discount, with a free domain and SSL certificate.
Basically, you can get started for $2.75 per month.
However, if your WooCommerce store is already up and generating revenue, then you may consider upgrading to a managed WordPress hosting plan on SiteGround or WP Engine.
Need help moving your WooCommerce store to a new host? See our tutorial on how to easily move WordPress to new host for step-by-step instructions.
2. Improve WooCommerce Performance
Slower websites are one of the top reasons for lower conversions and sales.
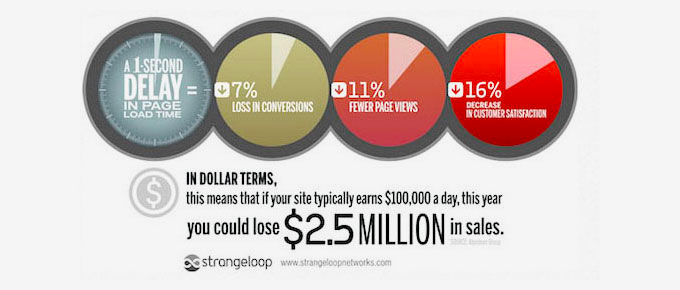
A recent case study of eCommerce websites uncovered that a one-second delay in page load could reduce conversions by up to 7%.
WooCommerce runs on top of WordPress, which generates content from a database when users visit your store.
If more users visit your website at the same time, then this adds more load on your hosting server, which slows it down and causes you to lose potential sales.
Luckily, there is an easy way to mitigate this issue by using a caching plugin on your WooCommerce store.
We recommend using WP Rocket. It is the best WordPress caching plugin on the market.
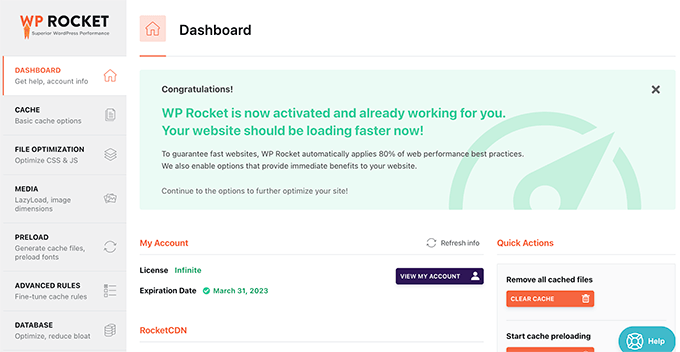
It is super easy to set up. Once you install and activate the plugin, it will automatically start building a cache in the background.
WP Rocket will also detect that you are using WooCommerce and apply eCommerce settings. For instance, it will exclude checkout, cart, and account pages from the cache.
While caching alone will give your website a significant performance boost, there is a lot more you can do to speed up your WooCommerce store.
For more details, see our complete WordPress performance guide for beginners, which has more tips to improve WooCommerce speed.
3. Set up WooCommerce SEO
More than 85% of consumers search before making an online purchase.
Organic search results get 20x more clicks than paid ads, and they cost way less (because they’re almost free).
This is why you need to focus on improving WooCommerce SEO to get more sales on your website.
Now, WooCommerce itself is very SEO friendly, but there is a lot more you can do to get more organic traffic and increase sales.
First, install and activate the All in One SEO for WordPress plugin. For more details, see our step-by-step guide on how to install a WordPress plugin.
It is the best WordPress SEO plugin on the market and comes with powerful WooCommerce integration.
It is super easy to use and makes technical SEO simple for beginners. Once set up, it would automatically assign the correct Schema markup for your product pages.
You would also get a complete site-wide SEO audit, TruSEO score for your product pages, product XML sitemaps, and more.
For more details, see our complete WooCommerce SEO guide, which has more detailed instructions.
4. Use Proper Schema Markup for Products
Schema markup is a special type of HTML code that you can add to your WooCommerce store and tell search engines more about your content or products.

Search engines like Google can then use this data in search results. Such search listings are called rich results or rich snippets.
These listings get more prominently displayed and get more clicks, which ultimately brings more sales to your WooCommerce store.
All in One SEO already comes with built-in support for Schema markup. However, many beginners don’t realize how powerful this tool is, and they end up not utilizing it to its full potential.
First, you need to visit the All in One SEO » Search Appearance page and then switch to the Content Types tab.

From here, you need to scroll down to the Products section and click on the Schema Markup tab.
Make sure that it is using Product as the Schema Type. This will be the default setting for any WooCommerce products from now on.

After that, when you edit any product on your WooCommerce store, the schema type will already be set.
You can check this by going into the content editor for a product, and then scrolling down to the AIOSEO Settings section. Then, just click on the Schema tab.
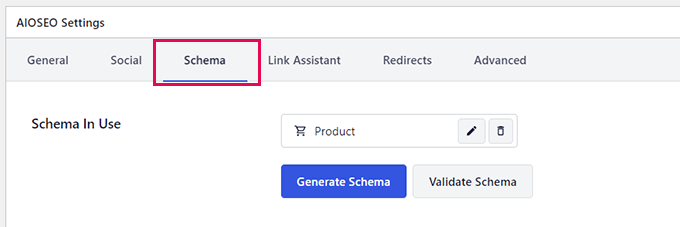
Make sure that the Product is selected in the Schema In Use section. You can click on the Generate Schema button to select a different Schema if you need. You can use more than one schema type if you need to, but that doesn’t happen often.
Click on the Edit button next to the Schema type to see the information you are providing as Schema markup.

By default, the plugin will auto-generate data from your product content to use in schema markup.
You can switch the Autogenerate Fields option to ‘No’ and review all the data manually.
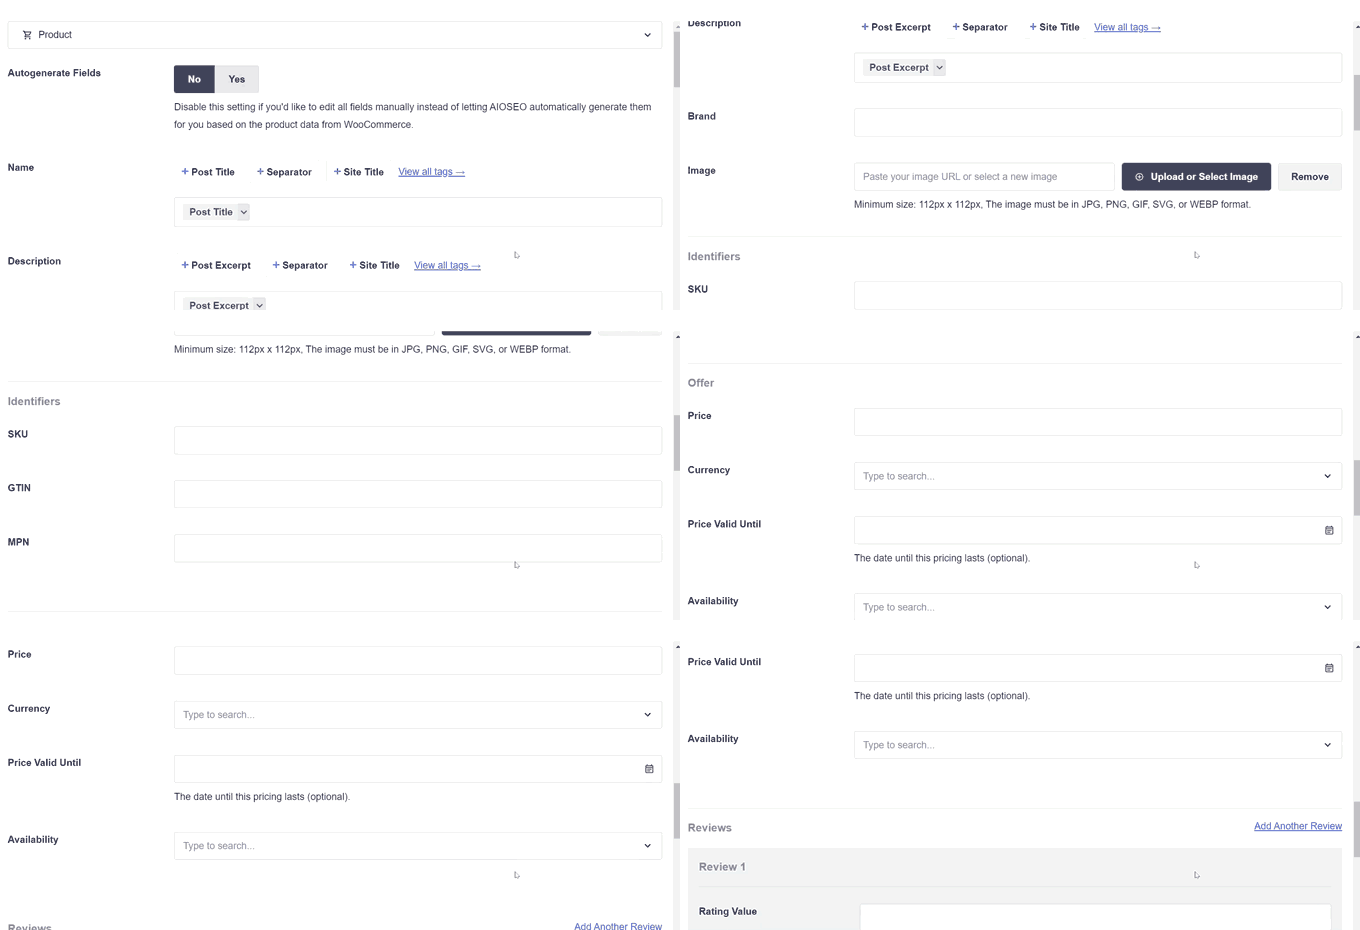
From here, you can provide schema details manually.
To learn more, take a look at our beginner’s guide to Schema markup.
5. Perform Proper Keyword Research for Product Pages
Keywords are the terms users type in search engines to look for information.
Learning what keywords users will try can help you optimize your product pages for those keywords.
The easiest way to start with keyword research is by using WPBeginner’s Keyword Generator Tool (free).
You can start by typing a generic term for your product and clicking Analyze button.
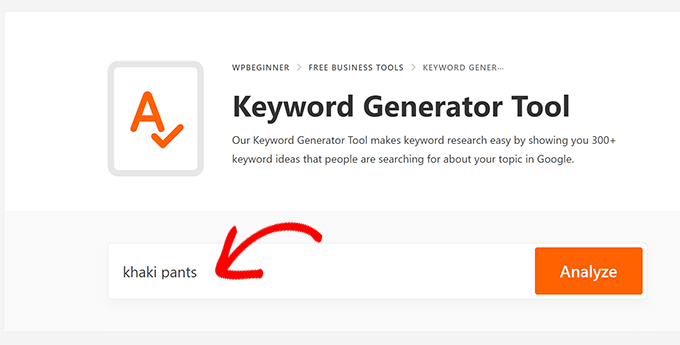
It will then start generating relevant keyword suggestions.
More generic keywords will have a higher search volume, but they will also be difficult to rank for.
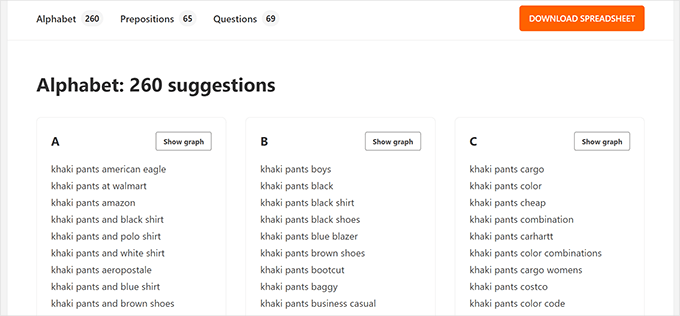
Ideally, you would want to focus on keywords that are more relevant to your product, have lower competition, and have significant search volume.
To learn more, see our tutorial on how to do keyword research for beginners.
Once you have found the keywords that you want to target, you can edit your product in WooCommerce.
Under the AIOSEO Settings section, set your main keyword as the Focus Keyphrase.
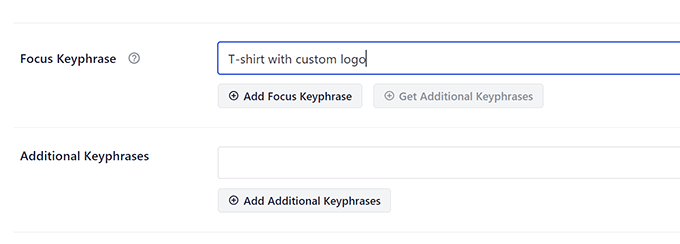
Below that, you can add more keywords as additional keyphrases.
As soon as you enter a focus keyphrase, All in One SEO will show you an SEO score with tips on improving your content.

Apply the recommended changes to your product content to optimize it for your target keywords.
You can also try out other SEO tools like Semrush (paid), Keyword Generator, or AnswerThePublic for your keyword research.
6. Optimize Product Category Pages
Product category pages can be an important source of traffic for many online stores.
All in One SEO allows you to easily optimize your product category pages.
Simply go to the Products » Categories page and click on the Edit link below a category that you want to optimize.
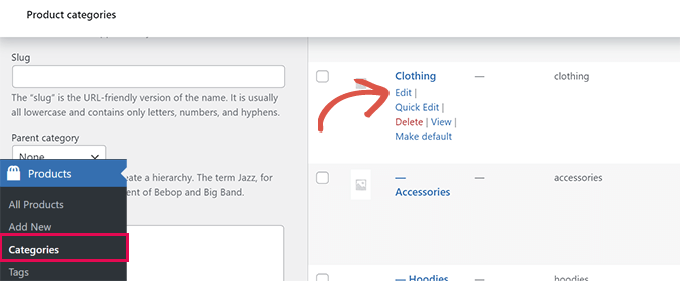
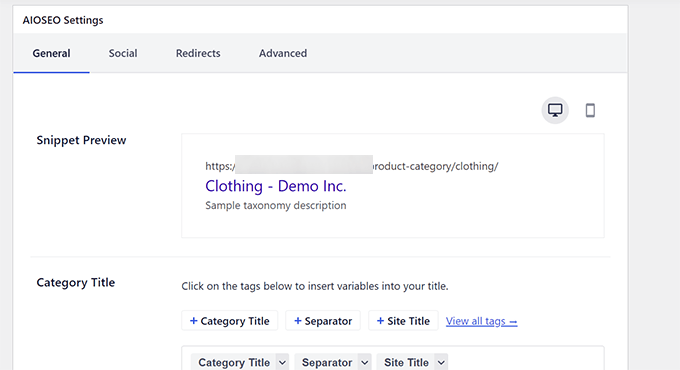
On the edit screen, scroll down to the AIOSEO Settings section.
From here, you can provide an SEO title and description and choose a social media image.
7. Ranking for Local Search Results
According to research, more than 46% of all Google searches are looking for local information.
Even for online shopping, customers may add location along with their keywords to ensure a quick delivery.
If you have one or more retail locations, then ranking for local SEO will bring you more targeted traffic with higher purchase intent.
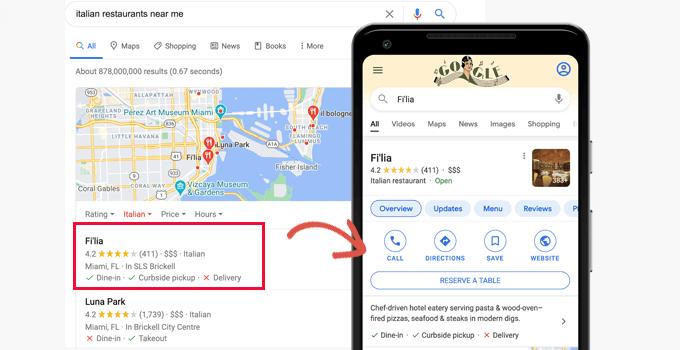
You will need All in One SEO’s Local SEO addon to set up your online store for local SEO.
Simply go to the All in One SEO » Local SEO page to activate the Local SEO feature.
Once activated, you can go ahead and add your business information.
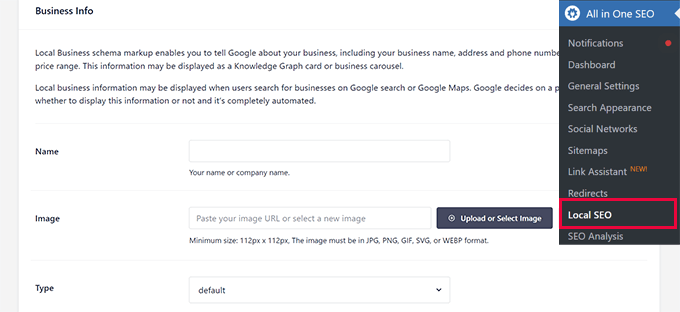
You can provide your business address, logo, map location, and other information.
The phone number you provide here may appear in search results with a call button. You should use a proper business phone number to easily manage customer calls.
Next, you need to switch to the Opening Hours tab. Here, you can provide your business hours.
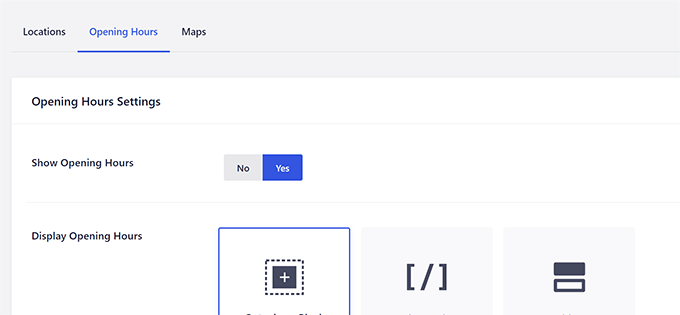
If you need to display map locations on your website, then you can switch to the Maps tab and provide the Google Maps API key.
8. Reduce Cart Abandonment with OptinMonster
Once users have added products to their cart, you would want to make sure that they complete the checkout to make the purchase.
However, more than 70% of shopping carts are abandoned without completing the purchase (Source: Ecommerce Statistics: Key Insights Every Business Should Know).
Luckily, there are tools like OptinMonster. It is the best conversion optimization software for WooCommerce and helps you convert website visitors into paying customers.
OptinMonster comes with Exit Intent popups that help you show custom messages to users when they are about to leave.
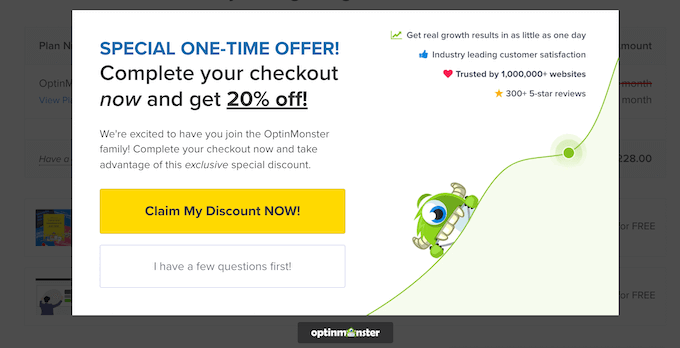
Among other tools, it includes countdown timers (to create urgency), gamification popups, email marketing integration, slide-in popups, and more.
OptinMonster comes with powerful targeting tools that help you show personalized messages to customers at the right time.
For instance, you can show special offers based on geographic locations, show discount codes for specific products, and more.
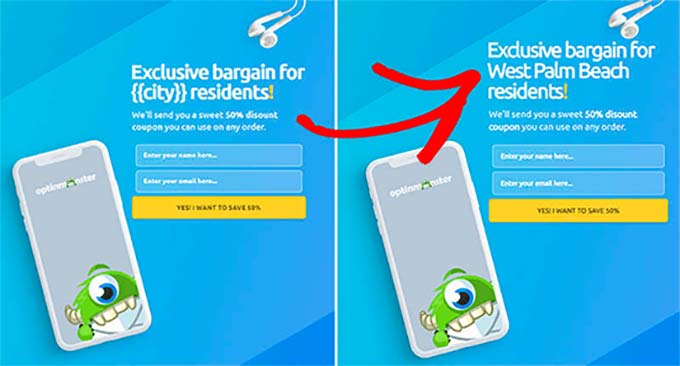
For more details, see our tips to reduce cart abandonment in WooCommerce.
9. Create Better Cart Pages for WooCommerce
Cart pages in WooCommerce are quite plain and don’t help you do much else.
This is where SeedProd comes in. It is the best WordPress page builder plugin that allows you to create custom landing pages for your online store.
It comes with dozens of templates, all highly optimized for sales and conversions.
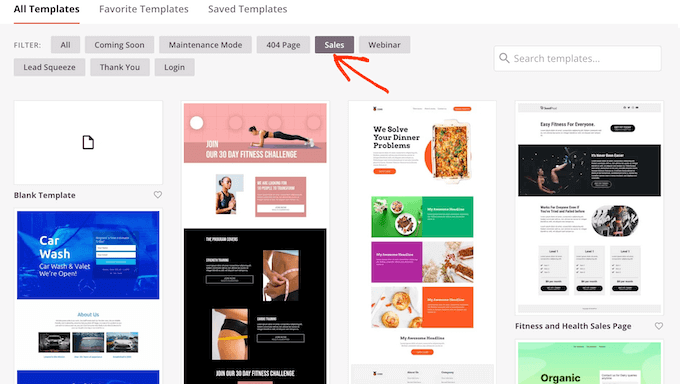
It also includes full WooCommerce support and allows you to create a custom shopping cart experience for your users.
You can use WooCommerce blocks and add them to your pages.
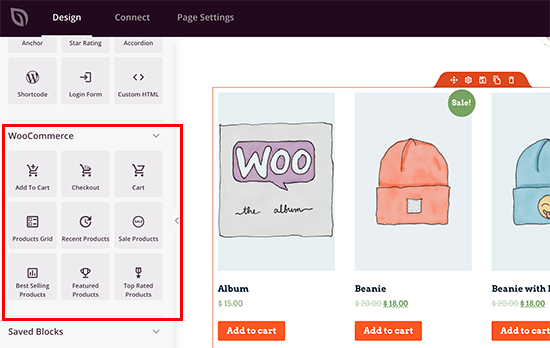
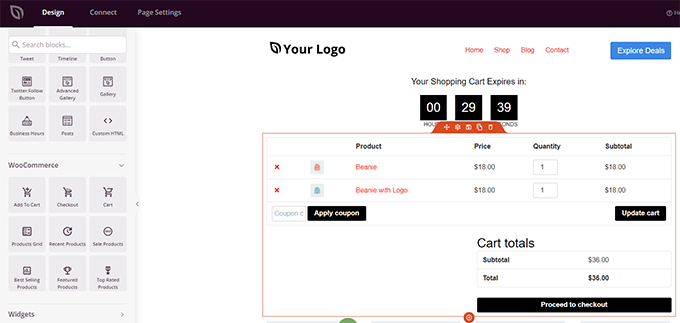
With its powerful drag-and-drop tool, you can create a custom cart page without writing any code.
Plus, you can use the cart page to upsell products, offer discounts, display countdown timers, and more.
10. Upsell on Cart, Checkout, and Thank You Pages
Have you noticed how all the big eCommerce giants like Amazon try to upsell products when viewing your cart, checking out, or after you have made the purchase?
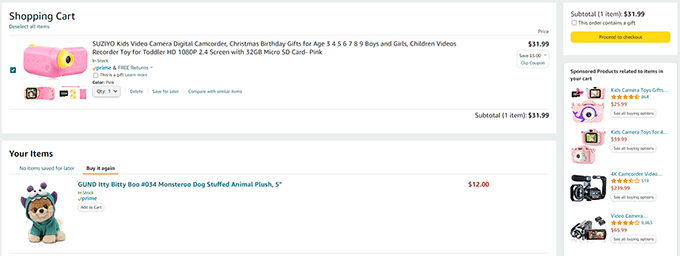
That’s because research has proven that if customers are shown the right products when they are about to pay, they are more likely to add them to the cart.
This is also the reason you see random things at the checkout counters of all the retail shops as well. Many of us can probably recall a recent time when we added one or more products to our cart while at the counter.
It is very effective, and you can easily implement it in your WooCommerce store to boost sales.
You can create custom cart, checkout, and thank you pages in SeedProd.
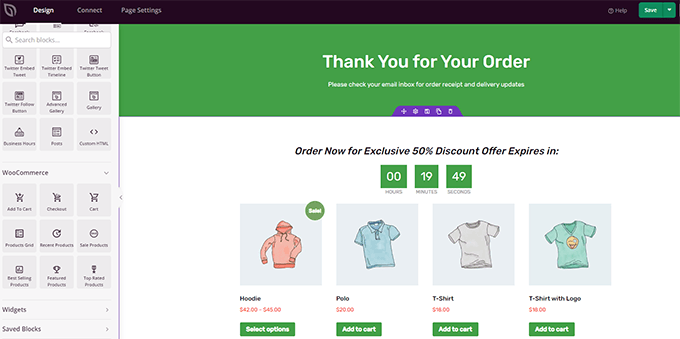
It comes with powerful WooCommerce blocks, allowing you to use their drag-and-drop page builder to create custom pages. You can show custom product grids, add countdown timers, offer discount coupons, and more.
For more details, see our guide on how to create a custom thank you page in WooCommerce.
11. Set up Email Marketing in WooCommerce
A recent survey found that more than 51% of consumers prefer to be contacted by brands through email.
Email is preferred over social media, mail, phone calls, or even text messages.
As an eCommerce store, if a customer doesn’t make a purchase and leaves, you have no way to reach out to that customer.
That’s more than 70% of all your website traffic.
Email marketing allows you to reach potential customers and stay in touch with your existing customers.
The easiest way to get started with email marketing is by using Constant Contact.
It is the best email marketing service for small businesses and beginners. It is easy to set up and comes with powerful tools you’ll need to grow your WooCommerce store.
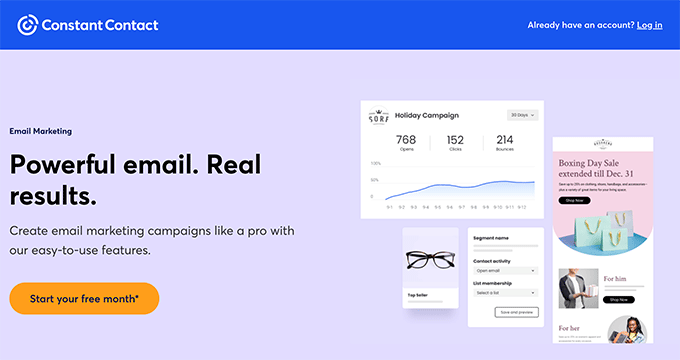
For more details, see our guide on how to create an email newsletter for your WooCommerce store.
12. Boost Conversions with Push Notifications
Push Notifications are browser notifications that allow you to send messages to users even when they are not visiting your website.
They work across devices (mobile and desktop) and are highly effective in increasing page views and sales.
The easiest way to get started is by using PushEngage. It is the best push notification service on the market that is beginner-friendly and incredibly powerful.
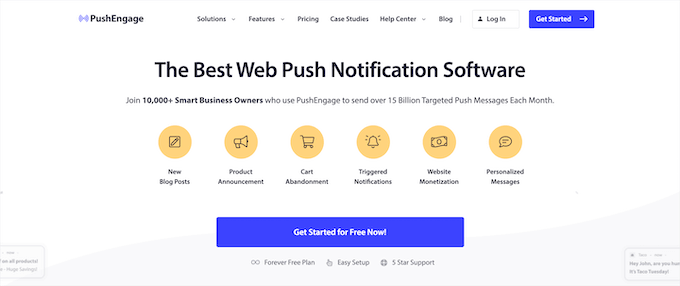
PushEngage comes with targeting rules that allow you to send personalized notifications to users at just the right time.
For instance, you can set up cart abandonment campaigns, new product announcements, trigger notifications based on user activity, and more.
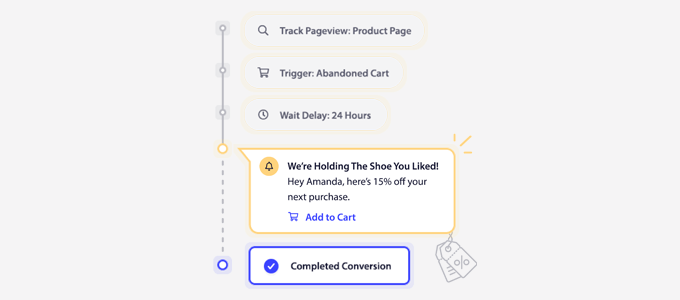
For detailed instructions, see our tutorial on how to easily add web push notifications to your website.
13. Use Social Persuasion to Increase Sales
Users are more likely to buy something when they see other people doing the same.
In psychology, this behavior is known as fear of missing out or FOMO, and it causes anxiety about missing out on something exciting and trendy.
In marketing, it is easy to trigger this effect by using social persuasion. There are several ways you can use these persuasion techniques to boost sales.
The easiest way would be by using TrustPulse. It is the best social proof app for marketers and eCommerce stores.
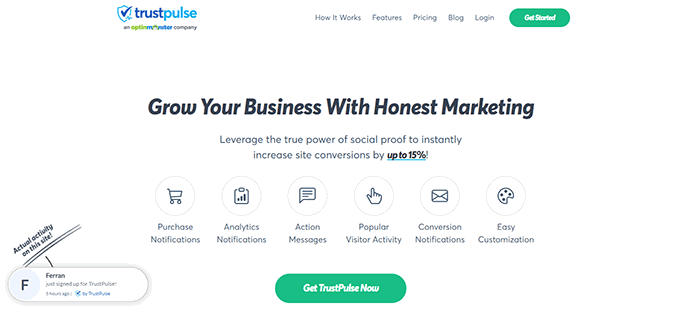
It allows you to show customer activity on your site with targeted notifications. Users will see what other, real people are doing and purchasing on your site.
You can display notifications on precise locations like product pages, sales campaigns, or landing pages. You can also trigger them based on user activity.
For more details, see our article on how to use FOMO on your website to increase conversions.
We hope this article helped you find useful tips to increase WooCommerce sales. You may also want to see our guide on how to setup conversion tracking in WooCommerce or take a look at our pick of the must-have WooCommerce plugins.
If you liked this article, then please subscribe to our YouTube Channel for WordPress video tutorials. You can also find us on Twitter and Facebook.
The post 13 Ways to Increase WooCommerce Sales (Actionable Tips) first appeared on WPBeginner.
Dr Crash says:
